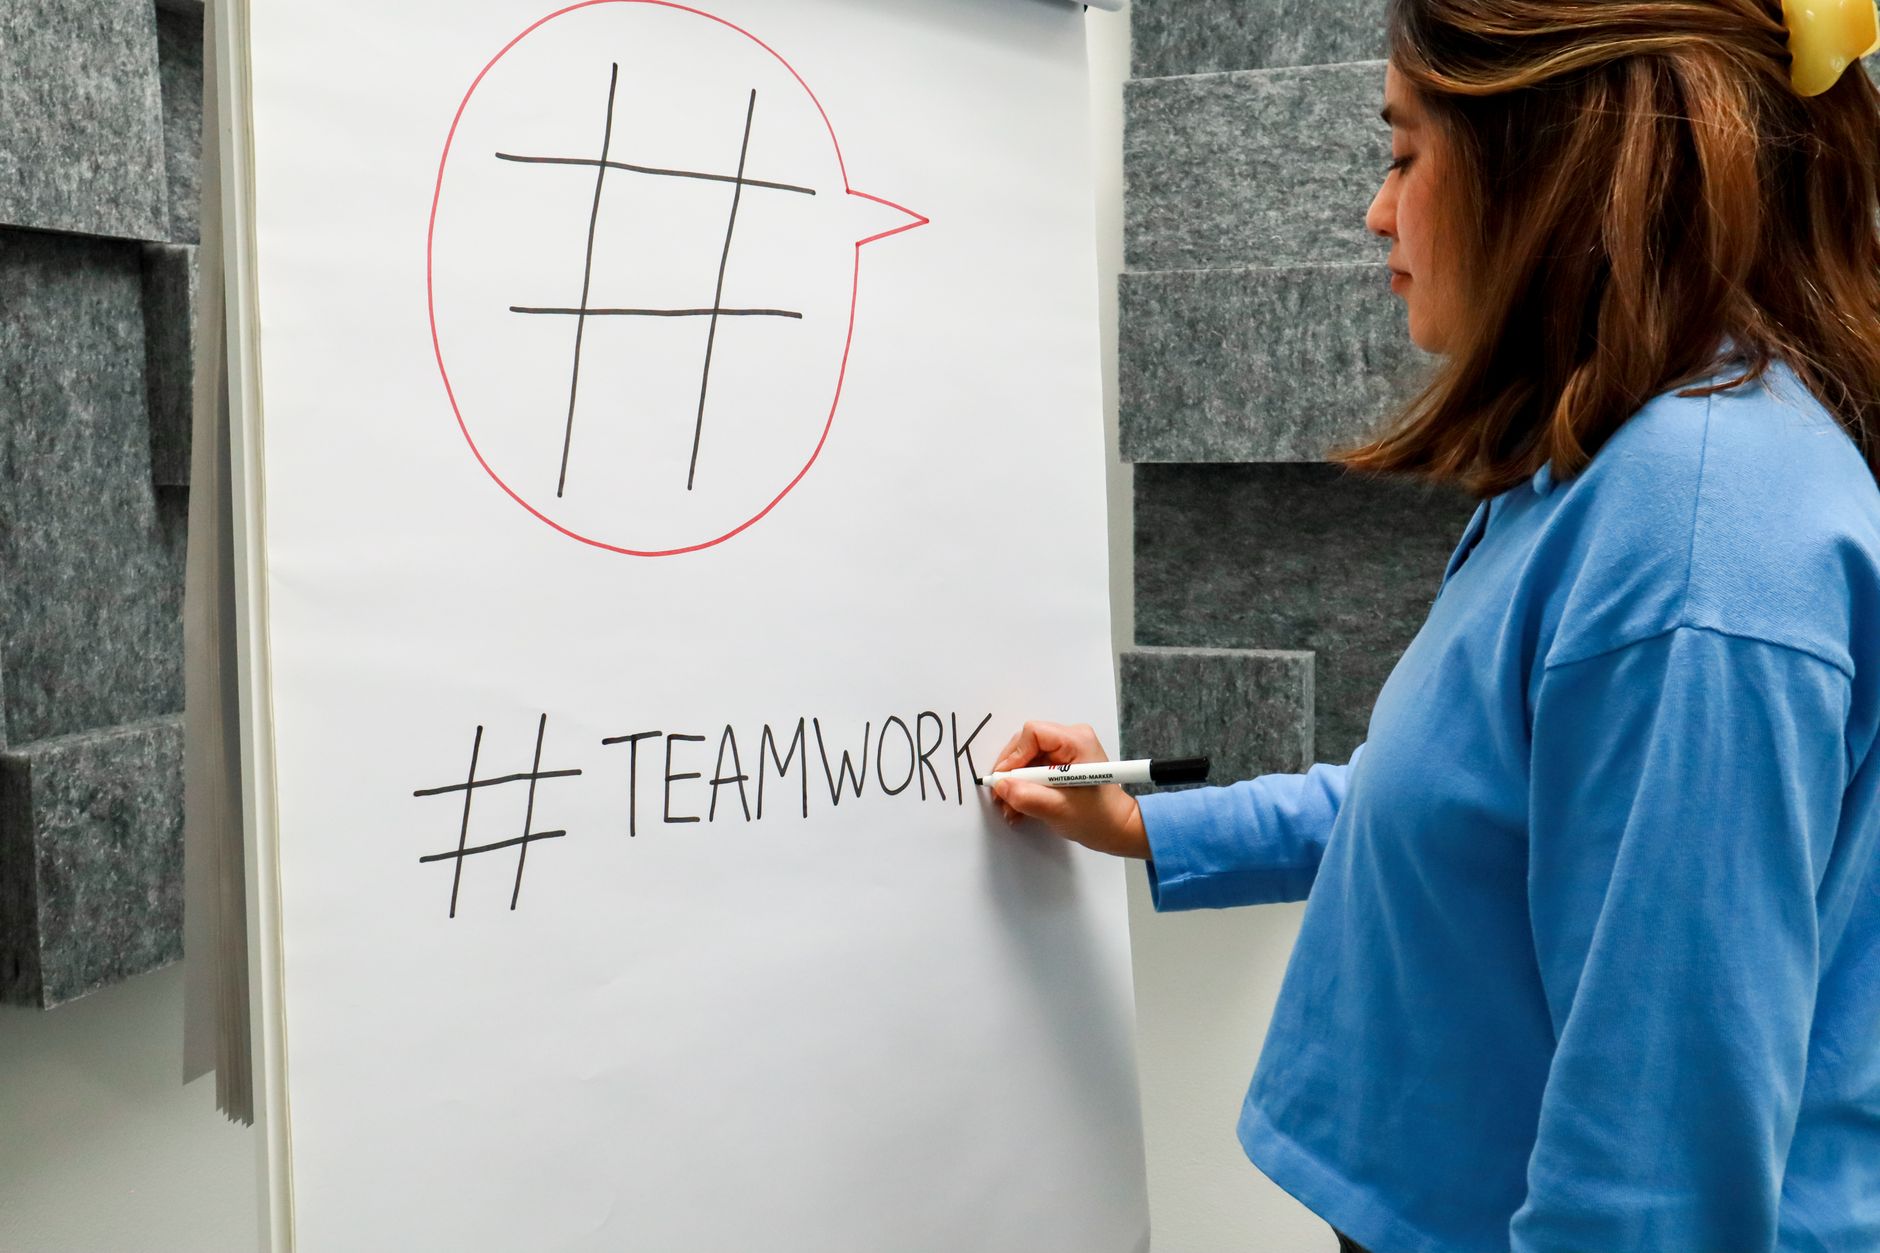
A facilitator presentation has a different job from a presentation designed to deliver a speech. It should help a group do something: make a decision, practice a skill, share experience, or work through a problem. The slides need to support that process without competing with the facilitator or turning the session into a lecture.
The most useful facilitator decks make the next step obvious. Participants can see what they are being asked to do, how long they have, and what they will produce. With a clear workshop arc and a few well-designed prompts, your deck can act as a reliable guide while leaving room to respond to the people in the room.
Start with the workshop outcome, not the slide count
Before opening a presentation tool, write down what participants should be able to do by the end. Make the outcome observable: “choose one improvement to test” is easier to design for than “understand the process.” Then decide what participants need to learn, discuss, or practice to reach that outcome. These decisions give each slide a reason to exist.
Next, define the audience and the conditions of the session. A group of experienced managers may need a short scenario and time to compare approaches; new hires may need a demonstration followed by a guided practice. Consider group size, room setup, whether people are joining remotely, and what they already know. Those details affect whether an activity works as a pair discussion, a table exercise, or a whole-group debrief.
Use the outcome to set boundaries. If the workshop is about giving feedback, for example, keep background information focused on the model participants will use. Move optional context into a backup slide or facilitator notes. A training presentation template can provide a starting structure, but adapt its sequence to the actual learning task rather than filling every available slide.
Map a simple workshop arc
A dependable workshop arc gives participants orientation, practice, and a way to apply what they learned. One practical sequence is: welcome and purpose, shared context, demonstration or example, individual or group practice, debrief, and next step. Not every session needs all six parts, but the sequence helps you spot gaps. If the deck moves from explanation straight to a conclusion, participants may not get a chance to try the skill.
Plan the agenda around transitions, not just topics. For instance, a 60-minute session on prioritization might spend five minutes on the goal, ten on a shared example, fifteen on individual ranking, fifteen on small-group comparison, ten on debrief, and five on commitments. Treat these as planning estimates, then add flexibility for discussion or questions. A visible agenda helps people understand where they are without making every minute feel rigid.
For each segment, write a one-line purpose and a clear transition. “Now that we have identified the criteria, use them to rank the three requests” connects explanation to practice. If you want help generating a first-pass sequence, the presentation agenda generator can help you organize topics; review the result against your outcome, available time, and audience.
Write slides that prompt participation
A facilitator slide should usually contain one main instruction or idea. Use a direct action verb, such as “Compare,” “Choose,” “Draft,” or “Discuss.” Then state what participants should produce and any useful constraints. Instead of “Stakeholder mapping activity,” write: “List three people affected by the change. Mark who needs to be consulted before the pilot.” The latter gives the group something concrete to do.
Make activity instructions complete enough to use without a long explanation. Include the group format, time available, materials or information needed, and the expected output. A slide might say: “In pairs, review the scenario. Choose one response and note the trade-off. You have six minutes; be ready to share your reasoning.” If the task has several steps, number them and reveal them together when participants need the full sequence.
Separate participant-facing content from facilitator guidance. The slide can show a concise question while your notes hold the follow-up prompts, likely misconceptions, or transition into the next activity. For example, after asking “What made this handoff difficult?” your notes might remind you to invite both the sender’s and receiver’s perspective. This keeps the screen readable without forcing you to rely on memory for every detail.
Build in practice, reflection, and debrief
A workshop becomes more useful when participants apply an idea rather than only hear about it. Choose an exercise that resembles a decision or task they will face after the session. For a customer-service workshop, participants could rewrite a sample response using the principles just introduced. For a planning session, they might identify a risk in a short project scenario and propose a mitigation.
Give practice a clear finish line. Ask participants to create one draft, rank a set of options, rehearse a conversation, or identify a first action. Avoid vague prompts such as “Talk about the topic,” which can leave groups unsure where to begin. If the exercise is open-ended, provide a few discussion questions or a simple worksheet structure so people can start quickly.
Plan the debrief before the activity begins. Ask what participants noticed, what choices they made, and how they would use the learning in a real situation. A facilitator deck can include a debrief slide with two or three focused questions, followed by a synthesis slide that names the main takeaway. Leave room to capture participant contributions live, but do not assume every response needs to become a new slide.
Make the deck easy to scan and adapt
Participants should be able to find the important information at a glance. Use descriptive titles such as “Choose the first experiment” rather than generic labels like “Activity.” Keep body copy concise, use readable type, and give instructions enough visual space to stand apart from examples or background information. If participants need to read a long passage, provide it as a handout or linked source rather than shrinking it onto a slide.
Use visual structure to show relationships. A simple timeline can clarify a process, a two-column layout can compare options, and a short sequence can show the steps in an exercise. Use color consistently for meaning—for example, one color for participant actions and another for facilitator cues—and check that the distinction still works for people who may not perceive color in the same way. Avoid decorative elements that make it harder to locate the prompt.
Review the deck at presentation size, not only while editing. Check that activity instructions can be read from the back of the room and that a slide does not contain more text than people can process while listening. A slide word count checker can flag slides that may need trimming, but use judgment: a short reference slide may appropriately contain more text than a live discussion prompt.
Rehearse the flow and prepare for the unexpected
Walk through the deck as if you were facilitating, not just presenting. Say the instructions aloud, estimate how long each transition takes, and check whether participants have enough time to respond. Look for moments when you would need to explain something that is not on the slide, or where the next slide assumes knowledge the group has not yet gained. Revise those points before the session.
Prepare a few practical contingencies. Keep an optional question or extension activity for a group that finishes early, and identify one explanation or example you can shorten if discussion runs long. If technology or room arrangements may change, know which exercises can work without a particular tool or display. These options help you protect the workshop outcome when the schedule changes.
If your source material is already in a document or report, Pekto can turn source content into an editable presentation. You can review and edit both the generated content and presentation structure before export, which is useful when adapting material into a facilitator-led flow. For example, you could begin with a draft using Word to PowerPoint AI, then revise it into a workshop sequence with explicit instructions, practice, and debriefs. The final test is whether the deck helps you guide the group—not whether it contains every detail from the source.